Abhinav Mishra is the Founder and Editor-in-Chief of Samsung Mobile. With a background in Information Technology and over 15 years of experience in the tech industry, he has worked across product development, digital strategy, and technology journalism. Abhinav is recognized for his deep knowledge of the Samsung ecosystem and has been featured in several tech panels and publications for his insights. At Samsung Mobile, he oversees editorial direction, ensures content quality, and leads the team of writers. Outside of work, he enjoys reading about emerging technologies, mentoring young professionals, and spending time with his family.
Learn how to disable ads on your Samsung Galaxy phone with this step-by-step guide. Reduce unwanted ads from apps, notifications, and Samsung services.
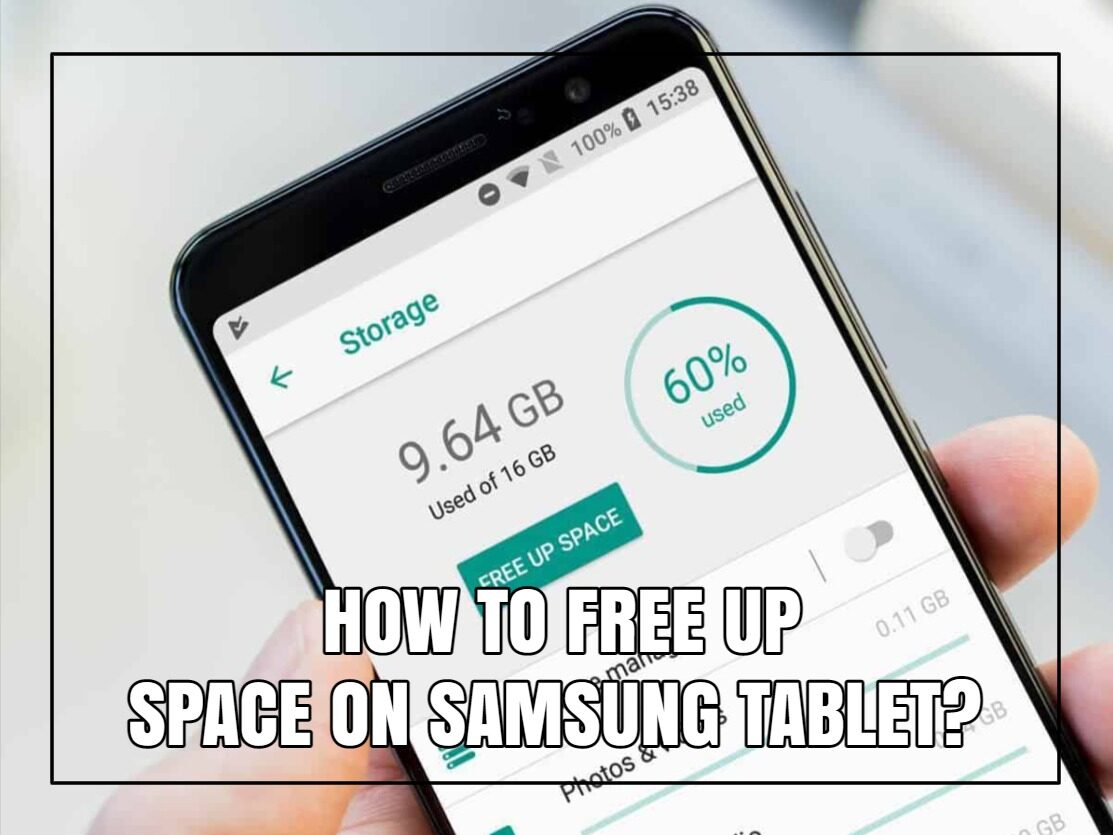
Learn how to free up space on your Samsung device with our step-by-step guide. Clear cache, uninstall apps, manage photos and videos, and optimize storage for better performance.
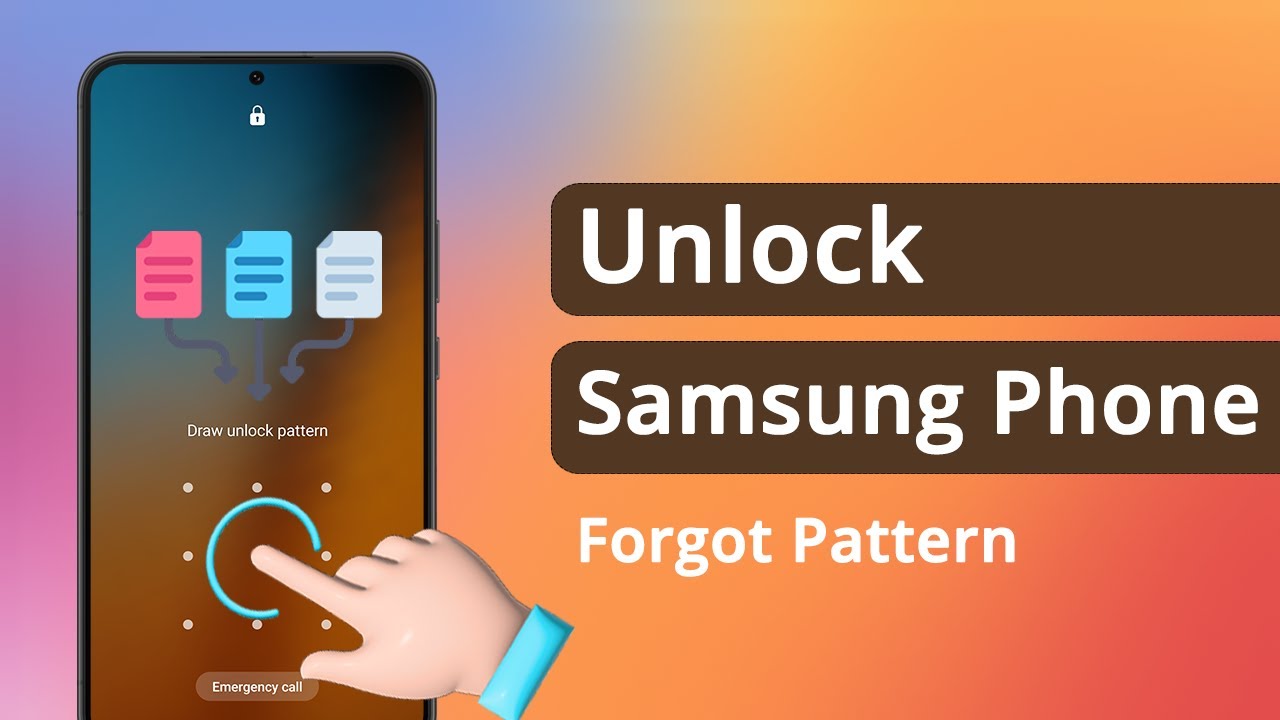
Learn how to unlock your Samsung phone if you forgot the pattern using Samsung Find My Mobile, Google Find My Device, Smart Lock, or factory reset safely.