Abhinav Mishra is the Founder and Editor-in-Chief of Samsung Mobile. With a background in Information Technology and over 15 years of experience in the tech industry, he has worked across product development, digital strategy, and technology journalism. Abhinav is recognized for his deep knowledge of the Samsung ecosystem and has been featured in several tech panels and publications for his insights. At Samsung Mobile, he oversees editorial direction, ensures content quality, and leads the team of writers. Outside of work, he enjoys reading about emerging technologies, mentoring young professionals, and spending time with his family.
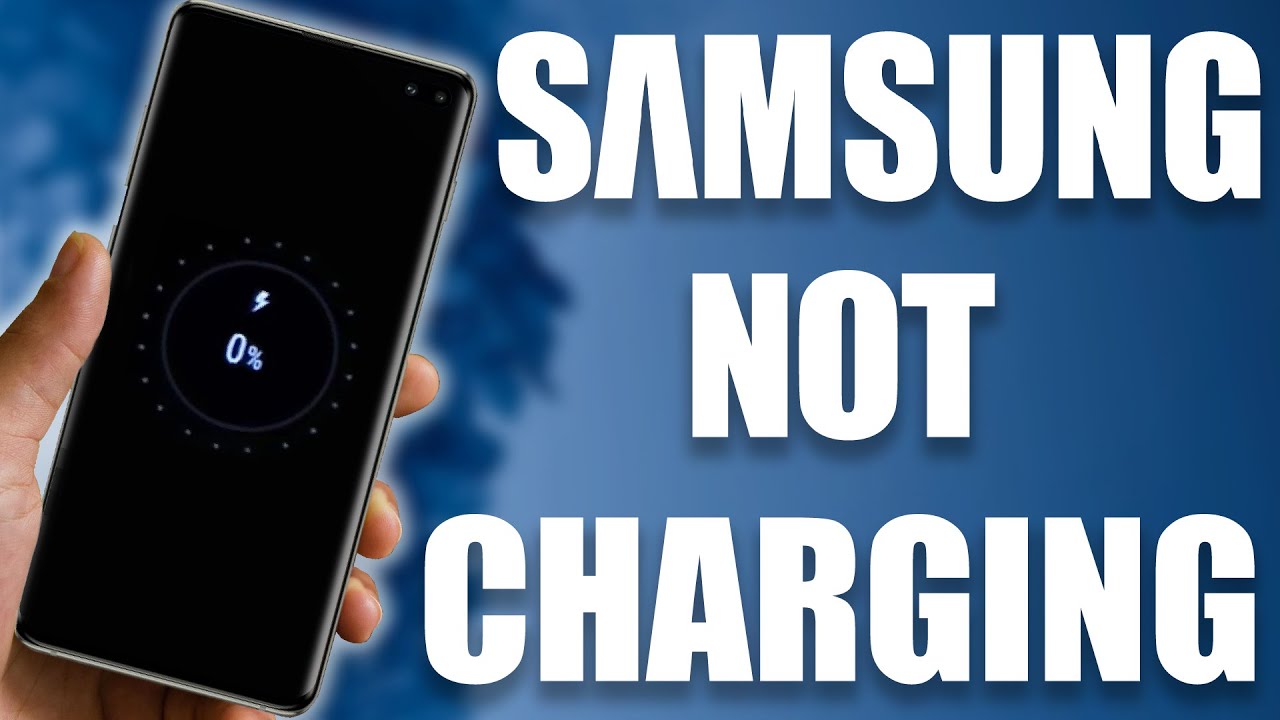
Is your Samsung phone not charging correctly? Learn step-by-step how to diagnose and fix common charging issues, from cable checks to port cleaning and software solutions.
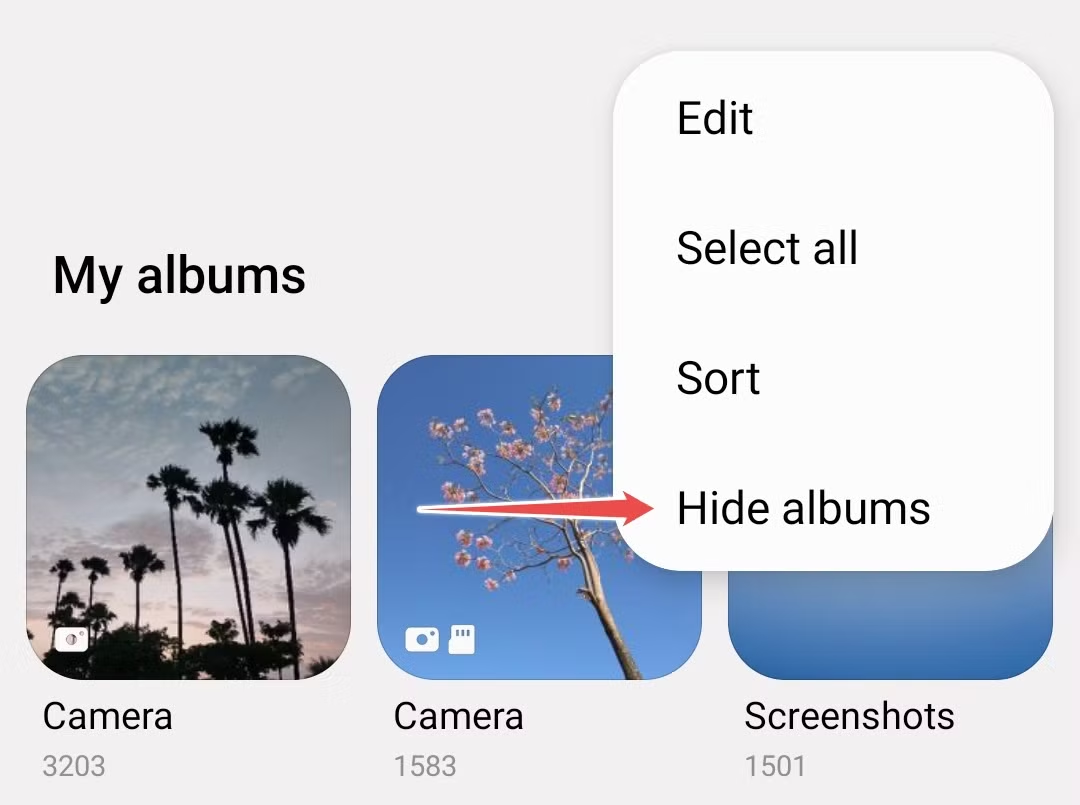
Learn how to hide photos on your Samsung phone using various methods like the Secure Folder, hidden albums, or third-party apps. Keep your private images safe and secure.
Enable dark mode on your Samsung phone for eye comfort & battery savings. Learn quick steps to activate Night Mode via settings, quick panel, or Bixby Routines.
Learn how to check RAM usage on your Samsung phone to identify resource-hungry apps and optimize performance. This guide covers built-in tools and developer options.
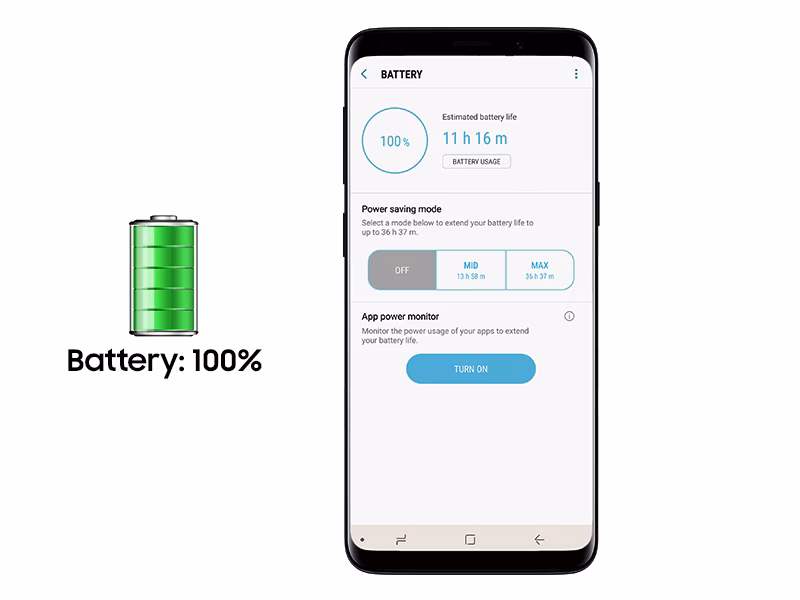
Extend your Samsung phone battery life with this comprehensive how-to guide. Learn essential tips for optimizing settings, managing apps, and improving charging habits.
Unlock the power of Galaxy AI on your Samsung phone! Learn how to enable and effectively use Circle to Search, Live Translate, Note Assist, Generative Edit, and more.
Unlock the full potential of your Samsung Galaxy device with One UI 6. Learn how to effectively use its enhanced camera, customization, productivity, and privacy features