Your Samsung Galaxy phone isn’t just a way to text friends or scroll through apps. It’s also, arguably, one of the most powerful cameras you carry around every day. And while it does a great job right out of the box, there are a few things—some small, some game-changing—that can take your photography to the next level. This guide walks you through tips, tricks, and lesser-known features to help you get the most from your Galaxy camera.
- Understand Your Camera Modes
Before anything else, get familiar with what your camera offers. Each mode is designed with a specific purpose in mind, and knowing when to switch can make a big difference.
- Photo Mode (Default): This is your go-to mode for everyday shots. It’s smart, automatic, and usually does a solid job on its own. The AI adjusts things behind the scenes so you can focus on framing.
- Portrait Mode: Want that artsy blurred background? Portrait Mode is perfect for highlighting your subject.
- How to use: Just switch to Portrait, line up your shot, and tap the shutter. Afterward, you can even tweak the blur in your Gallery.
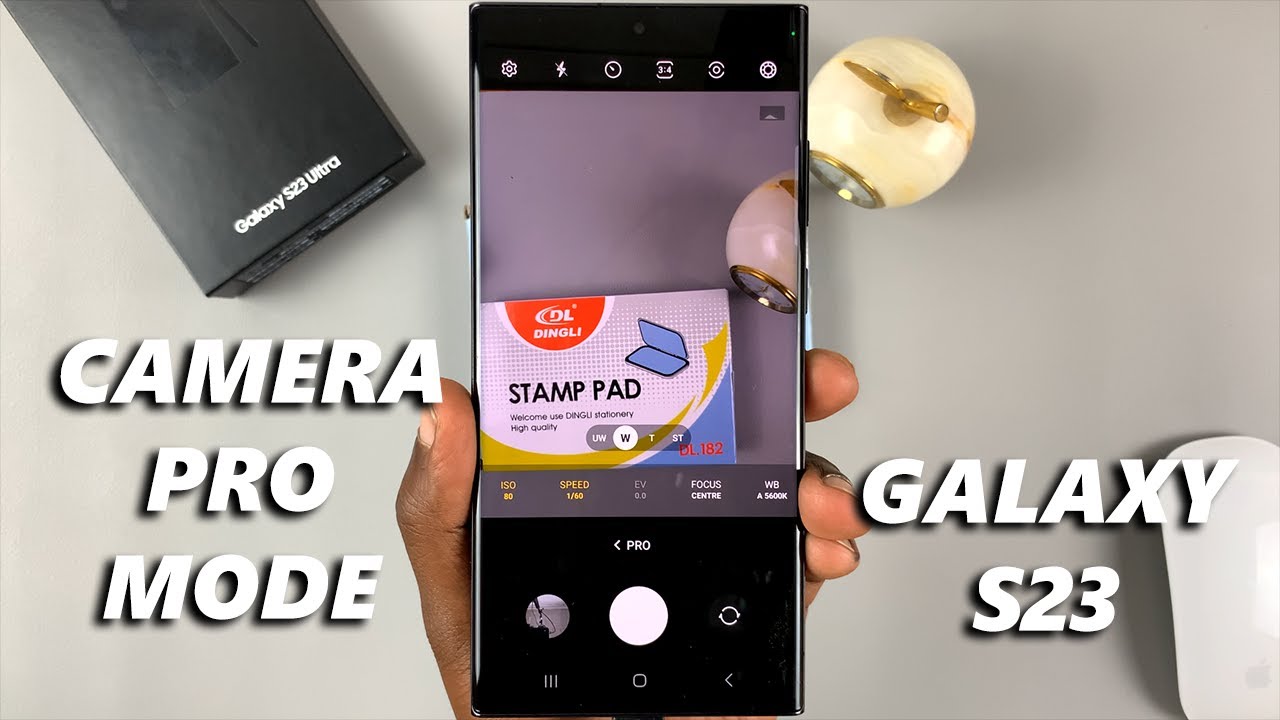
- Pro Mode: This one’s for when you want full control. You can adjust ISO, shutter speed, white balance, and more.
- When to use: Low-light scenes, creative effects, or anytime auto just won’t cut it.
- Tip: Start simple. Try lowering the ISO in bright light or slowing the shutter for cool effects like motion blur.
- Night Mode: Built specifically for low-light situations. It takes several frames and merges them into one brighter, clearer image.
- How to use: Turn it on, hold still (a tripod helps!), and let it do its thing.
- Food Mode: It boosts color and detail to make your dishes look extra appetizing, often adding a slight vignette for drama.
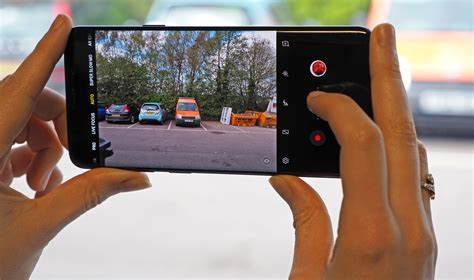
- Panorama Mode: For those epic, sweeping shots—whether it’s a city skyline or mountain view.
- Slow Motion/Hyperlapse: Great for dramatic or fast-paced video. Use Slow Motion to emphasize moments and Hyperlapse for sped-up sequences.
- Master the Basics of Composition
Even the most high-tech camera can’t fix poor composition. Here’s where your eye really matters:
- Rule of Thirds: Mentally (or literally) divide your screen into nine parts. Try placing your subject where the lines intersect—it makes photos more balanced.
- Enable grid lines: Go to Camera Settings > Grid lines.
- Leading Lines: Use things like roads or fences to guide the viewer’s eye toward your subject.
- Symmetry: Reflections, patterns, or architecture can add pleasing balance to your shots.
- Framing: Shoot through a window, doorway, or between objects to naturally draw focus to your subject.
- Get Closer: It’s surprisingly common to stay too far back. Fill the frame and let your subject really shine.
- Leverage Essential Camera Settings
Dig a bit deeper into your settings menu—there’s gold in there.
- Resolution & Aspect Ratio: The highest resolution captures the most detail, but your aspect ratio matters too. 3:4 is flexible for cropping, while 9:16 is great for stories or video.
- Adjust it: Tap the aspect ratio icon in Photo mode.
- High-Efficiency Pictures (HEIF/HEIC): Saves space while keeping quality. Just be cautious—some apps or devices might not support it.
- Enable it: Camera Settings > Save options.
- Scene Optimizer: AI-powered adjustments based on what it detects—from pets to sunsets.
- Enable it: Camera Settings > Scene optimizer.
- Shot Suggestions: This gives on-screen cues to help you frame shots better.
- Enable it: Camera Settings > Shot suggestions.
- Tracking Auto-Focus: Keeps your subject sharp, even when they move.
- Enable it: Camera Settings > Tracking auto-focus.
- HDR (High Dynamic Range): Balances bright and dark areas in high-contrast scenes.
- Enable it: Tap the “HDR” icon or find it in Settings.
- Utilize Pro Mode for Advanced Control
If you’re feeling adventurous or have a specific vision in mind, Pro Mode is your playground:
- ISO: Controls light sensitivity.
- Low ISO (50-200) = Bright light, crisp image
- High ISO (400+) = Low light, more noise
- Shutter Speed: Affects motion.
- Fast (1/500s+) = Freeze action
- Slow (1/30s or slower) = Motion blur
- White Balance: Adjusts how colors appear based on lighting.
- Use presets or tweak by temperature (Kelvin scale)
- Manual Focus: Helpful for close-ups or when auto-focus struggles.
- Exposure Compensation (EV): Nudge your photo brighter or darker with simple +/- adjustments.
- Post-Processing: The Final Touch
Editing can be where good photos become great ones. And you don’t need a separate app—your phone has tools built-in.
- Basic Adjustments: Tap the edit icon in Gallery. Tweak brightness, contrast, and more.
- Crop & Straighten: Fix that slightly off-kilter shot or improve the overall frame.
- Filters: Use with restraint. Subtlety often works best.
- Spot Healing & Object Eraser: Clean up blemishes or distractions, especially handy with newer Galaxy models.
- Practical Tips for Everyday Photography
Sometimes, it’s the little things that make all the difference:
- Clean Your Lens: A quick wipe with a soft cloth can drastically improve clarity.
- Light is Everything: Aim for natural light. Golden hour (just after sunrise or before sunset) gives that magical glow.
- Skip Digital Zoom: It just crops the image. If you don’t have optical zoom, it’s better to crop later.
- Use Volume Button as Shutter: Helps stabilize your shot.
- Hold Steady: Brace yourself or use a tripod, especially in low light.
- Play With Angles: Don’t be afraid to crouch down or shoot from above.
- Take Multiple Shots: Slight variations can make a big difference. Pick your favorite later.
At the end of the day, the best way to improve is to experiment. Try different modes, angles, and settings. Review what works (and what doesn’t). Most importantly, keep it fun—because when you enjoy the process, great photos follow.