Want to turn quick moments into looping, animated snippets? Creating GIFs directly on your Samsung phone is a simple, fun way to capture action, reactions, or just quirky little moments without diving into video editing. Whether it’s a funny face, a cute pet yawn, or a dramatic hair flip—you can capture it as a GIF and share it instantly.
Samsung gives you several intuitive ways to make GIFs using just your camera and built-in gallery tools. Here’s a complete walkthrough of all the ways you can do it.
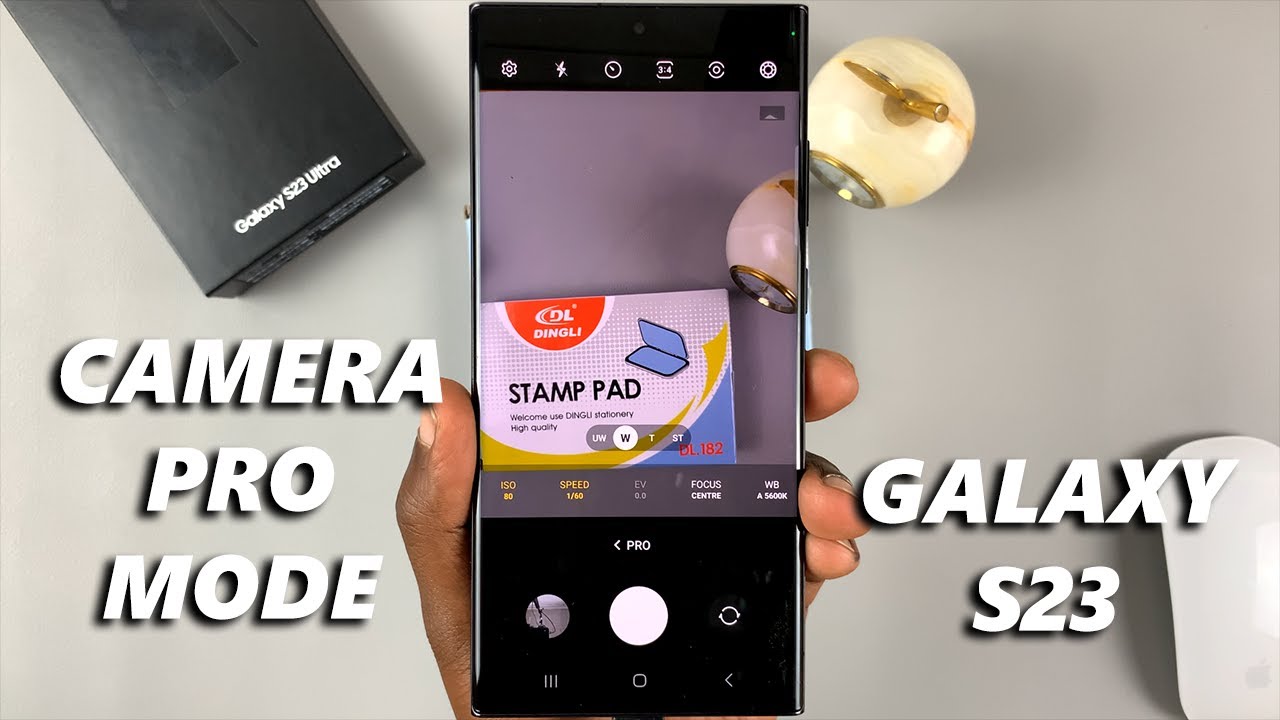
Method 1: Use the Shutter Button to Create a GIF (Newer Samsung Models)
If you’re using a recent Galaxy device, Samsung lets you turn the camera’s shutter button into a GIF recorder.
- Open the Camera App: Tap the Camera icon as usual.
- Head to Camera Settings: Look for the gear icon (⚙️) in the corner—tap it to open settings.
- Find “Hold Shutter Button To…”: Scroll until you see something like “Hold Shutter button to.” It might be under “Shooting methods” or “Common.”
- Choose “Create GIF”: Instead of taking burst shots, select “Create GIF.”
- Record Your GIF: Now, when you press and hold the shutter button, the camera captures a short animated clip and automatically saves it as a GIF. Just lift your finger to stop.
- Find It in Gallery: Your GIF is saved right in your Gallery—no extra steps needed.
Tip: Try to keep your phone steady while recording for a cleaner, smoother animation.
Method 2: Convert a Burst Shot Into a GIF
If your phone doesn’t support the shutter-to-GIF method, or if you want more control over frames, burst shots are your next best friend.
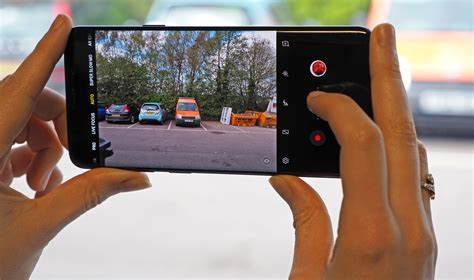
- Open the Camera App.
- Capture a Burst Shot: Depending on your phone model:
- Press and hold the shutter button (if set to “burst”).
- Or swipe the shutter downward and hold to activate burst mode.
- Open the Burst in Gallery: You’ll see a stack icon on the thumbnail. Tap to open it.
- Tap the Three Dots (⋮) or look for “Create GIF” right in the image tools.
- Choose Frames & Adjust:
- Select which frames to include.
- Set the speed, direction (loop, reverse), and frame rate.
- Save: Once you’re happy with the preview, hit “Save.” You now have a custom GIF ready to go.
Method 3: Convert a Video into a GIF (Using Samsung Gallery)
Already shot a video but only want to share a short, looping moment? No problem—you can turn that into a GIF in seconds.
- Open the Gallery App and tap on your chosen video.
- Look for a “GIF” Option:
- It might appear while the video is playing.
- If not, tap the pencil icon or menu (⋮), then look for “GIF.”
- Trim Your Clip:
- Drag the handles to select just a few seconds.
- You can also tweak playback speed, direction, and cropping.
- Tap Save: Your edited clip is now saved as a new GIF.
Pro tip: Keep it short—GIFs work best when they’re just a few seconds long.
Method 4: Use Smart Select for Screen-Based GIFs (Edge Panel)
Want to make a GIF from something on your screen? Like a clip from a YouTube video or an animation in an app? Smart Select has you covered.
- Enable Edge Panels:
- Go to Settings > Display > Edge Panels, and turn it on.
- Then ensure “Smart Select” is added to your active panels.
- Swipe to Open Edge Panel and choose “Smart Select.”
- Tap “Animation”: A frame will pop up on your screen.
- Resize the Frame around the area you want to record.
- Tap Record, then Stop when done.
- Preview & Save: You can crop or tweak quality here. Then save your GIF directly to Gallery.
Note: Since it captures your screen, no audio is included.
Tips for Making Better GIFs
- Keep it Short: 1–3 seconds is ideal.
- Capture Movement: Focus on action or reaction—it makes the loop more interesting.
- Use Good Lighting: Just like with photos, it makes a huge difference.
- Hold Steady: Less movement = smoother GIF.
- Share Freely: GIFs can be sent via messaging apps, Instagram, email—wherever you want.
By using these simple methods, your Samsung phone becomes a full-featured GIF creator—no third-party apps required. Whether you’re capturing something funny, beautiful, or just oddly satisfying, you can turn it into a shareable loop in no time.