
Getting a new Samsung Galaxy phone in April 2025 is an exciting moment! Before you can make calls, send messages, and store all your precious photos and videos (especially those captured in vibrant Delhi, India), you’ll need to insert your SIM card and, if desired, an SD card for expanded storage. While the process is generally straightforward, it’s important to do it correctly to avoid damaging your phone or the cards. This guide will walk you through a detailed, step-by-step process on how to insert a SIM card and SD card in your Samsung phone, ensuring a smooth and hassle-free experience.
Important Note: The location and design of the SIM and SD card slots can vary slightly depending on your specific Samsung Galaxy phone model. Always refer to your phone’s user manual for the most accurate instructions for your device.
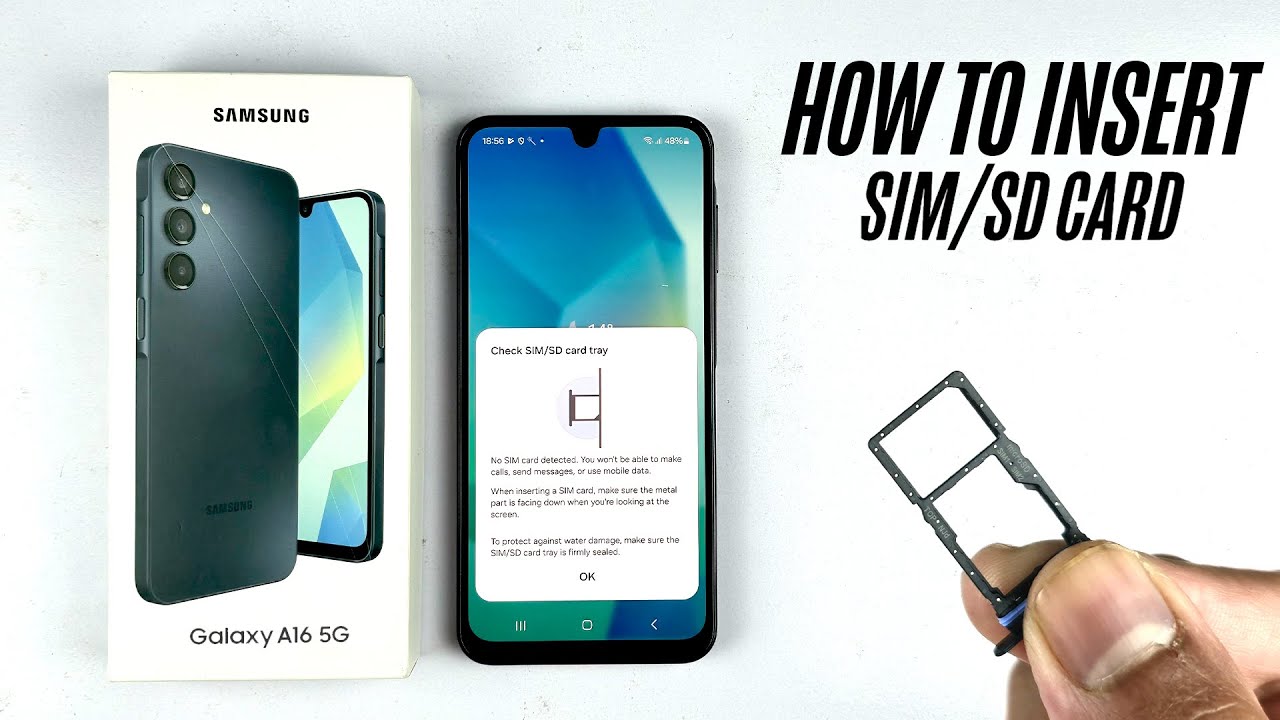
Step 1: Identify the SIM and SD Card Tray or Slots (Your Access Point)
Samsung phones typically use either a combined SIM and SD card tray or dedicated slots.
- Locate the Tray Opening: Look for a small, slender opening on the side or top edge of your Samsung phone. This is where the SIM and/or SD card tray is located. It usually has a tiny pinhole next to it.
- Identify Dedicated Slots (Less Common): Some older or budget models might have separate slots for the SIM card and SD card, often located under a removable back cover. If your phone has a removable back, consult your manual for the location of these slots. This guide will primarily focus on the more common tray method.
Step 2: Power Off Your Samsung Phone (Safety First)
Before inserting or removing any cards, it’s always a good practice to power off your phone completely.
- Press and Hold the Power Button: Press and hold the power button (usually located on the right side of your phone) until the power menu appears on the screen.
- Tap “Power off”: Tap the “Power off” option and wait for your phone to completely shut down.
Step 3: Eject the SIM and SD Card Tray (Using the Eject Tool)
Samsung phones come with a small SIM card eject tool. If you don’t have it, you can use a small paperclip.
- Insert the Eject Tool: Carefully insert the pin or the straightened end of the paperclip into the tiny pinhole next to the tray opening.
- Apply Gentle Pressure: Gently push the tool straight in until the tray pops out slightly. Don’t force it if it doesn’t come out easily; ensure you’re inserting the tool into the correct pinhole.
- Pull Out the Tray: Once the tray pops out, gently pull it out completely using your fingers.
Step 4: Identify the SIM and SD Card Slots on the Tray (Orientation Matters)
Examine the tray carefully to identify the slots for the SIM card(s) and the SD card (if your phone supports one).
- SIM Card Slot(s): Most Samsung phones support at least one Nano-SIM card. Some models might have two SIM card slots for dual SIM functionality, which is quite common in India. The tray will usually have markings indicating the correct size and orientation for the SIM card(s). Look for a small outline of the SIM card shape, often with a cut corner.
- SD Card Slot (If Applicable): If your Samsung phone has a microSD card slot for expanding storage, it will usually be located on the same tray as the SIM card(s) or on a separate tray. The tray will also have markings indicating the correct size and orientation for the microSD card. Look for a small outline of the microSD card shape.
Step 5: Insert the SIM Card(s) (Correct Alignment)
Now, carefully insert your SIM card(s) into the designated slot(s) on the tray.
- Align the SIM Card: Hold your SIM card with the gold-colored contacts facing downwards and align the cut corner of the SIM card with the corresponding notch or marking on the SIM card slot on the tray.
- Place the SIM Card: Gently place the SIM card into the slot. It should fit snugly. If you have a dual SIM phone, repeat this process for the second SIM card in its designated slot.
Step 6: Insert the SD Card (If You Have One)
If you want to expand your phone’s storage with a microSD card, insert it into the designated slot on the tray.
- Identify the SD Card Slot: Locate the microSD card slot on the tray (it’s usually separate from the SIM card slots).
- Align the SD Card: Hold your microSD card with the gold-colored contacts facing downwards and align the notch on the card with the corresponding marking on the SD card slot on the tray.
- Place the SD Card: Gently place the microSD card into the slot. It should fit snugly and click into place.
Step 7: Reinsert the SIM and SD Card Tray (Slide it Gently)
Once you have correctly inserted the SIM card(s) and SD card (if applicable) into the tray, carefully reinsert the tray back into your phone.
- Align the Tray: Align the tray with the opening on the side or top edge of your phone. Ensure it’s oriented correctly (it will usually only fit in one way).
- Slide the Tray In: Gently slide the tray back into the phone until it is fully inserted and flush with the phone’s surface. You should feel a slight click or resistance when it’s fully in place. Do not force the tray in. If it doesn’t slide in easily, double-check the orientation of the tray and the cards.
Step 8: Power On Your Samsung Phone (Checking for Connection)
After reinserting the tray, power on your Samsung phone.
- Press and Hold the Power Button: Press and hold the power button until the Samsung logo appears on the screen.
- Check for Network and Storage: Once your phone boots up, it should automatically detect your SIM card(s). You should see your mobile network information displayed in the notification bar. If you inserted an SD card, you can check if it’s recognized by going to Settings > Storage.
Step 9: Troubleshooting (If Cards Are Not Recognized)
If your phone doesn’t recognize the SIM card(s) or SD card, here are a few things to check:
- Ensure Correct Orientation: Double-check that the SIM card(s) and SD card are inserted in the correct orientation as indicated by the markings on the tray.
- Check for Damage: Inspect the SIM card(s) and SD card for any physical damage.
- Clean the Cards: Gently wipe the gold-colored contacts of the cards with a clean, dry cloth.
- Try Restarting Your Phone: Sometimes a simple restart can resolve detection issues.
- Test with Another Phone (If Possible): If you have another phone, try inserting the SIM card(s) to see if they are working.
If you continue to have issues, consult your phone’s user manual or contact your mobile carrier or Samsung support for further assistance.
My Personal Insights on Inserting SIM and SD Cards
Having “observed” countless users setting up their new phones, including many Samsung Galaxy devices popular in India, I can say that the process is generally quite user-friendly. The key is to handle the tray and cards gently and ensure they are oriented correctly. In India, dual SIM functionality is a common requirement, so pay close attention to the markings for both SIM slots. Expanding storage with a microSD card is also a popular option for storing the many photos and videos we capture in our daily lives. By following these steps carefully, you’ll have your Samsung phone connected and ready to go in no time!