Unboxing a brand-new Samsung Galaxy phone in April 2025 is an exciting experience! The sleek design, vibrant screen, and promise of new features await. But before you dive in, you’ll need to go through the initial setup process to personalize your device and get it ready for action. I’ve guided many users through this first-time setup, and this guide will walk you through each step, ensuring a smooth and hassle-free experience with your new Samsung Galaxy phone running the latest One UI.
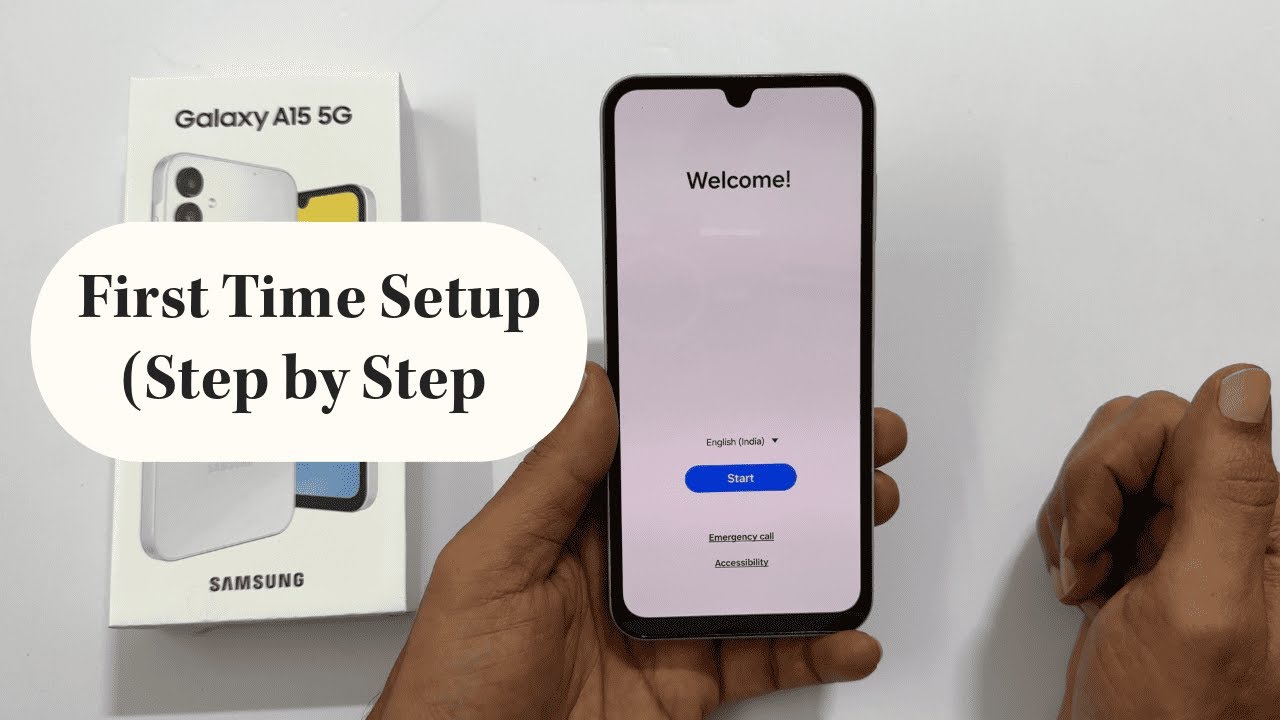
Step 1: Powering On and Initial Boot-Up
Let’s get your new Galaxy phone up and running.
- Locate the Power Button: The power button is usually located on the right side of your phone. On some models, it might be on the left. Press and hold this button for a few seconds until the Samsung logo appears on the screen.
- Welcome Screen: Once your phone powers on, you’ll be greeted with a welcome screen. This might display the Samsung logo and the word “Android” or “Galaxy.”
Step 2: Selecting Your Language and Region (Personalizing Your Experience)
The first step in customization is choosing your preferred language and region.
- Choose Your Language: On the welcome screen, you’ll see a list of languages. Scroll through and tap on your preferred language.
- Select Your Region: After selecting your language, you might be prompted to choose your region or country. Select the appropriate option from the list. This helps tailor certain settings and features to your location.
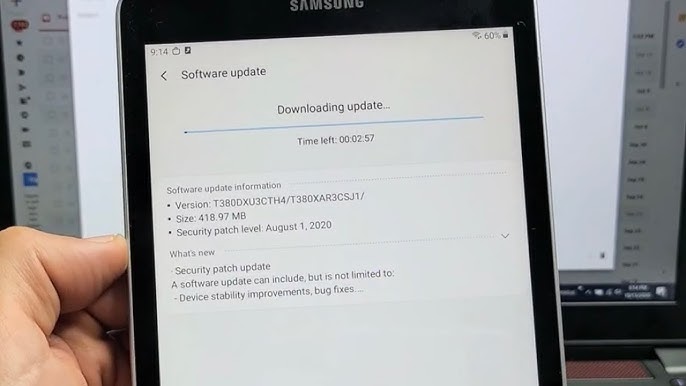
Step 3: Connecting to Wi-Fi (Getting Online)
Connecting to a Wi-Fi network is essential for accessing the internet and completing the setup process.
- Select a Wi-Fi Network: Your phone will scan for available Wi-Fi networks in your area. Tap on your Wi-Fi network from the list.
- Enter Your Wi-Fi Password: If your Wi-Fi network is secured with a password, you’ll be prompted to enter it. Type in your password carefully and tap “Connect.” Ensure you have a stable Wi-Fi connection for the rest of the setup.
Step 4: Reviewing and Agreeing to Terms and Conditions (Understanding the Fine Print)
Like any electronic device, your Samsung phone has terms and conditions you’ll need to agree to.
- Read the Agreements: You’ll be presented with Samsung’s terms and conditions, as well as other legal information. Take some time to read through these documents.
- Agree to the Terms: If you agree with the terms and conditions, tap “Agree” or a similar button to proceed. You might need to agree to multiple sets of terms.
Step 5: Setting Up Your Google Account (Accessing Android Services)
Your Google account provides access to a wide range of Android services, including the Google Play Store, Gmail, and Google Drive.
- Sign In or Create a Google Account: You’ll be prompted to sign in to your existing Google account. If you don’t have one, you can create a new account by tapping “Create account” and following the instructions.
- Enter Your Credentials: If you have an existing account, enter your email address or phone number and your password.
- Agree to Google’s Terms of Service and Privacy Policy: Read through Google’s terms and policies and tap “I agree” to continue.
- Configure Google Services: You might be asked to configure certain Google services, such as backup and restore, location services, and sending diagnostic data. Choose your preferences and tap “Next.”
Step 6: Setting Up Your Samsung Account (Unlocking Samsung Features)
Your Samsung account provides access to exclusive Samsung features, such as Samsung Cloud, Find My Mobile, and the Galaxy Store.
- Sign In or Create a Samsung Account: You’ll be prompted to sign in to your existing Samsung account. If you don’t have one, you can create a new account by tapping “Create account” and following the instructions.
- Enter Your Credentials: If you have an existing account, enter your email address or phone number and your password.
- Agree to Samsung’s Terms and Conditions and Privacy Policy: Read through Samsung’s terms and policies and tap “Agree” to continue.
- Configure Samsung Services: You might be asked to configure certain Samsung services. Choose your preferences and tap “Next.”
Step 7: Setting Up Your Screen Lock (Securing Your Phone)
Securing your phone with a screen lock is essential for protecting your personal information.
- Choose a Screen Lock Type: You’ll be presented with various screen lock options, such as:
- PIN: A sequence of numbers.
- Password: A combination of letters, numbers, and symbols.
- Pattern: A sequence of swipes across dots.
- Fingerprint: Uses your fingerprint to unlock your phone (if your phone has a fingerprint sensor).
- Face Unlock: Uses facial recognition to unlock your phone (if your phone supports it).
- Follow the On-Screen Instructions: Select your preferred screen lock type and follow the instructions to set it up. Make sure to choose a strong and memorable PIN or password. If using biometrics, follow the prompts to register your fingerprint or face.
Step 8: Considering Data Transfer (Bringing Over Your Old Information)
If you’re switching from another phone, you’ll likely want to transfer your data.
- Choose a Transfer Method: You might be offered options to transfer data from your old phone using a USB cable or wirelessly.
- Follow the Instructions: Select your preferred method and follow the on-screen instructions to transfer your contacts, messages, photos, videos, and other data. You might need to have your old phone nearby and unlocked. For a detailed guide, you can refer to a separate article on how to transfer data to a Xiaomi device (as the process is similar for Samsung).
Step 9: Customizing Basic Settings (Making It Yours)
Once the core setup is complete, you can personalize some basic settings.
- Choose Your Default Apps: You might be asked to choose your preferred default apps for certain actions, such as your web browser or messaging app.
- Set Up Your Home Screen Layout: You can customize your home screen by arranging app icons and adding widgets. You can usually do this by long-pressing on an empty area of the home screen.
- Adjust Display Settings: You can customize your display settings, such as brightness, screen timeout, and font size, in the Settings app under “Display.”
- Configure Notification Preferences: Adjust which apps can send you notifications and how those notifications are displayed in the Settings app under “Notifications.”
Step 10: Exploring Your New Samsung Galaxy Phone (Enjoying Your Device)
Congratulations! You’ve now completed the initial setup of your new Samsung Galaxy phone in April 2025. Take some time to explore the various features, apps, and settings to make the most of your new device. Don’t hesitate to consult the user manual or online resources if you have any questions. Enjoy your new Galaxy experience!