
The Samsung Galaxy S25 series, building on the legacy of its predecessors, pushes the boundaries of mobile photography with integrated Artificial Intelligence (AI). This advanced technology isn’t just about taking better photos; it’s about transforming them with intuitive, powerful editing tools right on your device. From removing unwanted objects to dramatically altering scenes, the Galaxy S25 leverages AI to make professional-grade photo editing accessible to everyone.
Historically, advanced photo editing required complex software and significant technical skill. However, with the rise of AI in mobile photography, exemplified by features like Google’s Magic Eraser and Samsung’s own innovations, these capabilities have moved from specialized studios to the palm of your hand. Samsung’s commitment to on-device AI processing, combined with cloud assistance for more intensive tasks, ensures a seamless and responsive editing experience.
This guide will walk you through the various AI photo editing features available on your Samsung Galaxy S25, helping you elevate your images with ease.
Enabling Galaxy AI Photo Editing Features
Before diving into the exciting world of AI editing, ensure these features are enabled on your Galaxy S25.
- Open Settings: Navigate to the main Settings app on your Galaxy S25.
- Find Galaxy AI: Scroll down and locate the Galaxy AI tab.
- Access Photo Assist: Within the Galaxy AI section, tap on Photo Assist.
- Enable Features: Ensure the toggles for features like Generative Edit and other AI editing suggestions are switched On. (The toggle will typically appear blue when enabled).
Key AI Photo Editing Features on Your Galaxy S25
Your Galaxy S25 comes equipped with a suite of powerful AI-driven editing tools. Here’s how to use them:
- Generative Edit: Reshape Your Photos
Generative Edit is a groundbreaking AI feature that allows you to seamlessly move, resize, or remove objects within your photos. It intelligently fills in the background where objects were removed or moved, creating a natural and convincing result.
How to Use Generative Edit:
- Open Gallery: Go to your Gallery app and select the photo you wish to edit.
- Tap Edit Icon: Tap the Edit icon (it looks like a pencil) at the bottom of the screen.
- Select Generative Edit: Look for the Generative Edit icon (often a blue circle with three stars) and tap it. You might need to tap “OK” on an initial prompt.
- Outline or Select Object:
- To remove an object: Use your finger or an S Pen to outline the object you want to remove.
- To move or resize an object: Tap and hold on the desired object to select it.
- Perform Action:
- Remove: Once outlined, tap the Remove icon (an eraser).
- Move: Drag the selected object to a new position within the image.
- Resize/Rotate: After moving, you can usually pinch to resize or rotate the object.
- Straighten (Optional): If your photo is crooked, adjust the slider at the bottom of the screen to straighten it. Generative AI will intelligently fill in the corners.
- Generate: Tap the Generate button. Galaxy AI will process the image, filling in missing areas or adjusting elements.
- Compare and Save:
- Touch and hold “View original” to see a comparison with the original image.
- When satisfied, tap Done, then Save as copy to preserve your original photo.
- Object Eraser: Vanish Unwanted Elements
The Object Eraser, often integrated within Generative Edit, is your go-to tool for removing distractions like photobombers, power lines, or anything that detracts from your main subject.
How to Use Object Eraser:
- Open Photo: In the Gallery, open the photo you want to edit.
- Tap Edit: Tap the pencil icon to enter edit mode.
- Access Object Eraser: The Object Eraser functionality is often found within the Generative Edit tool (the blue circle with three stars). Tap this icon.
- Draw or Tap: Use your finger or S Pen to draw around the object you want to remove, or simply tap on smaller, clearly defined objects.
- Erase: Once the object is selected, the option to erase or remove it will appear. Tap the eraser icon or “Remove.”
- Generate & Save: Tap Generate and then Save as copy once you’re happy with the result.
- Edit Suggestions: Instant Enhancements
Your Galaxy S25’s AI can analyze your photos and suggest automatic enhancements. These suggestions can range from remastering the image to erasing shadows or reflections.
How to Use Edit Suggestions:
- Open Photo: Go to your Gallery and select a photo.
- Tap Details/Info Icon: Tap the “i” icon (information icon) or swipe up to view more details.
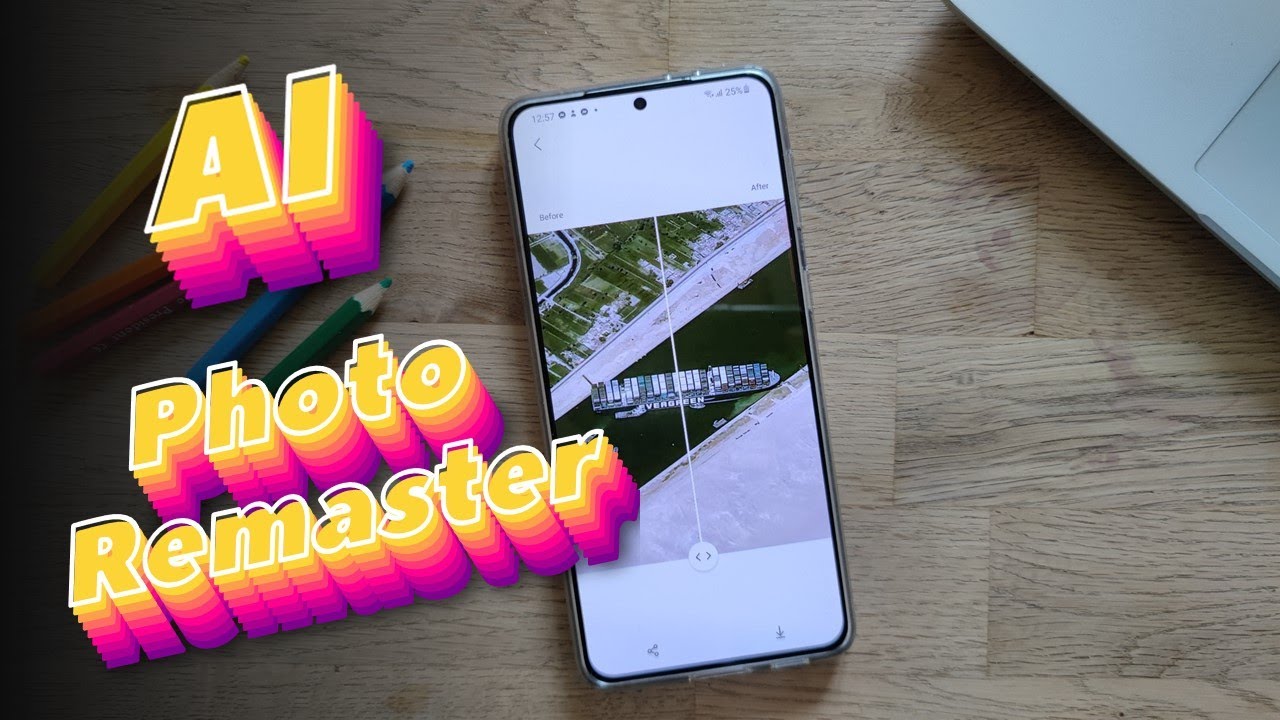
- Review Suggestions: If AI detects potential enhancements, you’ll see available edit suggestions like “Remaster,” “Erase shadows,” or “Erase reflections.”
- Apply Suggestion: Tap on the desired suggestion and follow any on-screen prompts to apply the changes.
- Save: Once the suggestion is applied, Save your photo.
- Scene Optimizer: Smarter Settings, Automatically
While not a direct “editing” tool in the Gallery, Scene Optimizer uses AI during capture to automatically adjust camera settings. It identifies what you’re shooting (e.g., landscapes, food, people, pets) and fine-tunes elements like exposure, contrast, and saturation for the best possible shot. This minimizes the need for post-capture editing.
How to Use Scene Optimizer:
- Open Camera App: Launch the Camera application.
- Access Settings: Tap the gear icon for Camera settings.
- Enable Scene Optimizer: Ensure Scene Optimizer is turned On.
- Shoot: Now, as you frame your shots, the AI will intelligently optimize settings in real-time.
- Custom Filters with AI
The Galaxy S25 also allows you to create personalized filters based on your favorite photos using AI. This lets you apply a unique aesthetic consistently across your images.
How to Create and Use Custom Filters:
- Open Camera App: Launch the Camera app.
- Tap Quick Controls/Filters: Tap the Quick controls icon (often a magic wand or filter icon).
- Create Custom Filter: Look for an option to “Create your own custom filter” or similar. You’ll typically be prompted to select a photo from your gallery that embodies the style you want to replicate.
- Refine (Optional): Once the AI generates the filter, you can fine-tune it by adjusting parameters like strength, color temperature, contrast, saturation, and film grain.
- Apply and Shoot: You can then apply this custom filter when taking new photos.
- Edit Existing Photos: To apply a custom filter to an existing photo, open the photo in the Gallery, tap the Edit icon, then the Filters icon, and select your custom filter.
- Sketch to Image: Unleash Your Imagination
This innovative feature allows you to doodle or draw an object within a photo, and the AI will then generate a photorealistic version of that drawing. It’s a playful way to add new elements to your images.
How to Use Sketch to Image:
- Open Photo: In the Gallery app, select the photo you want to edit.
- Tap Photo Assist Icon: Tap the Photo Assist icon (often the stars icon).
- Select Sketch to Image: Choose the Sketch to image option.
- Draw: Use your finger or S Pen to draw on the image where you want the new object to appear. You can undo/redo or erase as needed.
- Generate: Tap Generate. The AI will create several variations of the object based on your drawing.
- Choose and Save: Swipe through the generated options, select the one you like, and tap Save copy.
Tips for Best Results with AI Photo Editing
- Good Lighting: While AI can do wonders in tricky lighting, starting with a well-lit photo generally yields the best and most natural-looking AI edits.
- Clear Subjects: For features like Object Eraser, clear separation between the subject and background helps the AI perform more accurately.
- Experiment: Don’t be afraid to try different AI tools and see what they can do. Practice makes perfect, and you’ll discover new creative possibilities.
- Save as Copy: Always use the “Save as copy” option when editing. This preserves your original photo and allows you to revert if you’re not happy with the AI’s output.
- Internet Connection: While some AI processing occurs on-device, complex generative tasks might require an internet connection for cloud-based AI assistance.
- Keep Software Updated: Ensure your Galaxy S25’s software (One UI) is always updated to the latest version. Samsung frequently rolls out improvements and new AI features through these updates.
Conclusion
The Samsung Galaxy S25 truly puts a powerful, intuitive AI photo studio in your pocket. By understanding and utilizing features like Generative Edit, Object Eraser, Scene Optimizer, and Sketch to Image, you can transform your everyday photos into captivating works of art. These tools democratize advanced photo editing, making it easier than ever to capture and refine your memories exactly as you envision them.
FAQ
Q1: What is Galaxy AI on the Samsung Galaxy S25?
Galaxy AI refers to the suite of artificial intelligence features integrated into Samsung’s latest Galaxy devices, including the Galaxy S25. These features enhance various aspects of phone usage, with a significant focus on photography and productivity, making tasks easier and more intuitive.
Q2: Is AI photo editing on the Galaxy S25 done on-device or in the cloud?
The Galaxy S25 leverages both on-device AI processing (thanks to its powerful NPU – Neural Processing Unit) and, for more complex or data-intensive tasks like advanced Generative Edit, it may utilize cloud-based AI processing. This hybrid approach ensures both speed and capability.
Q3: Can I remove people from my photos using AI on the Galaxy S25?
Yes, absolutely! The Object Eraser feature, often found within Generative Edit, allows you to easily select and remove unwanted people or objects from your photos. The AI then intelligently fills in the background to make the removal look seamless.
Q4: Do AI-edited photos on the Galaxy S25 have a watermark?
Yes, images edited using advanced generative AI features like Generative Edit on the Galaxy S25 typically include a small Galaxy AI watermark to indicate that the image has been AI-modified. This is a common practice in AI-generated or heavily AI-edited content.
Q5: What is the difference between Scene Optimizer and other AI editing tools?
Scene Optimizer works before you take the photo, using AI to automatically detect the scene and subject, then optimizing camera settings for the best possible shot. Other AI editing tools, like Generative Edit and Object Eraser, work after the photo has been taken, allowing you to modify and enhance existing images in your gallery.
Q6: Can I straighten a crooked photo with AI on my Galaxy S25 without cropping?
Yes, with Generative Edit on your Galaxy S25, you can straighten crooked photos. When you adjust the tilt, the AI will intelligently fill in the areas that would typically be cropped, preserving the original aspect ratio and details.
Q7: Is the Galaxy Enhance-X app still relevant for AI editing on the Galaxy S25?
While many core AI editing features are now integrated directly into the Gallery app on the Galaxy S25, the Galaxy Enhance-X app (available from the Galaxy Store) can still offer additional, more granular editing options, including blur removal, brightness adjustment, and more advanced remastering. It can complement the built-in AI tools for users who want even more control.