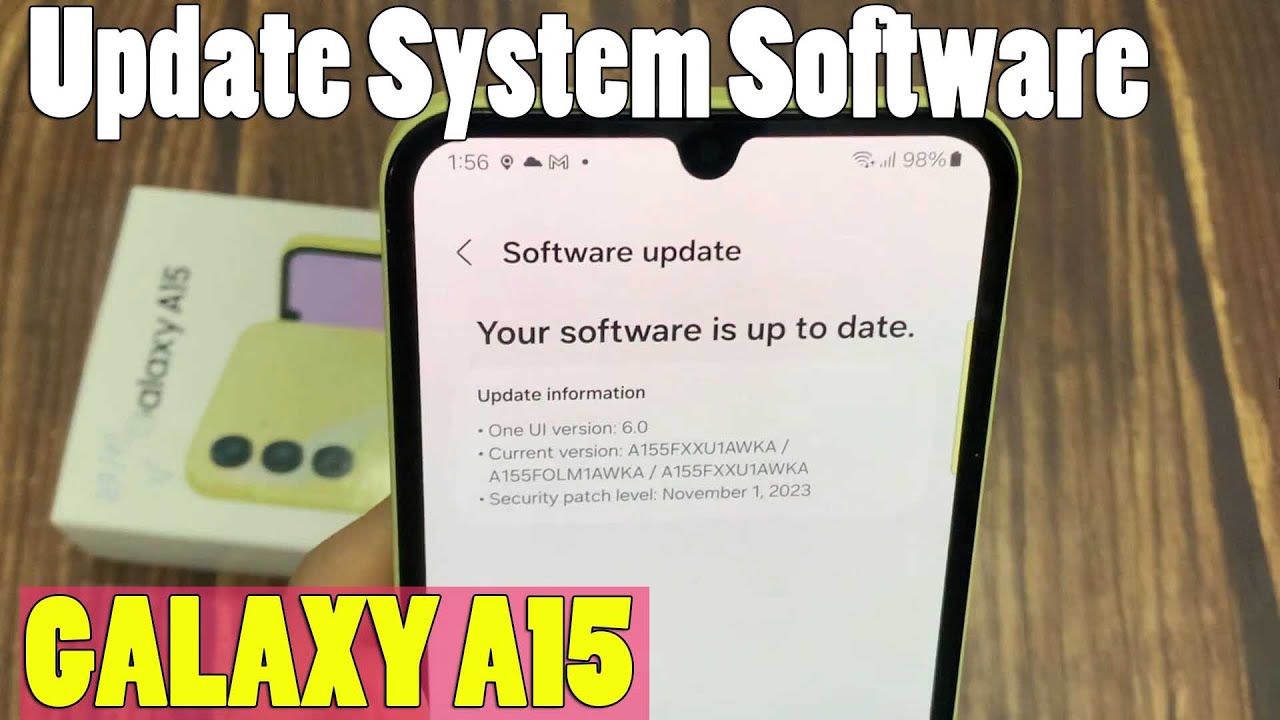
Refreshing your Samsung Galaxy phone in April 2025 doesn't always require a complete wipe. By utilizing these various reset options, you can often resolve software glitches, connectivity problems, and other minor issues while keeping all your valuable data safe and sound.
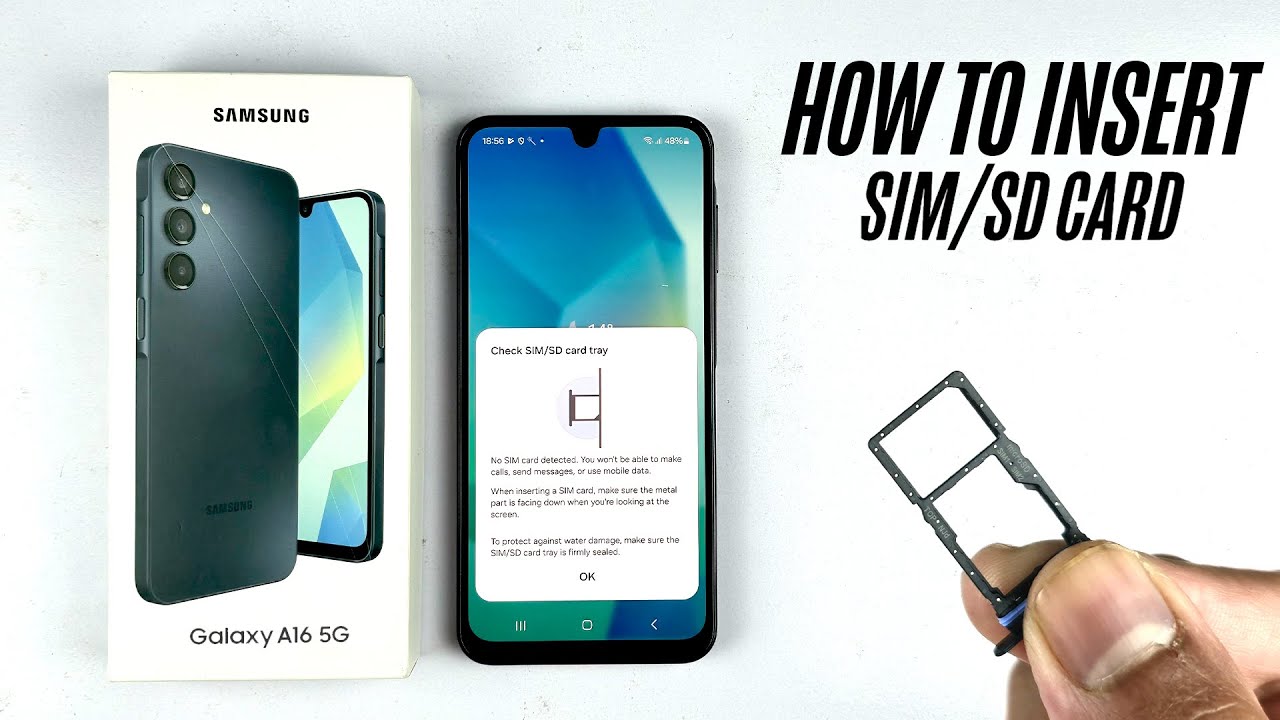
Inserting a SIM card and SD card into your Samsung Galaxy phone in April 2025 is a straightforward process that allows you to connect to your mobile network and expand your phone's storage. By following these detailed steps and handling the cards and tray with care, you'll be ready to enjoy all the features your new Samsung phone has to offer.
Enabling Developer Options on your Samsung Galaxy A54 in April 2025 is a straightforward process that involves a few taps in the Settings app. By following these steps, you can unlock a range of advanced settings and tools to further customize your device and explore its hidden capabilities. Remember to use these options responsibly and with caution.
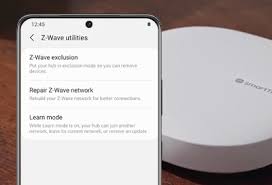
Updating the software on your Samsung SmartThings hub in April 2025 is a straightforward process using the SmartThings app. By following these steps, you can ensure your smart home hub is running smoothly, securely, and with the latest features, providing a seamless smart home experience.